Mary Berry Raspberry Jam Recipe, one of the most beloved British chefs, has mastered the art of traditional cooking and baking. Among the numerous recipes she has shared with the world, her raspberry jam recipe stands out as a simple yet incredibly delicious treat that brings the flavors of summer into every jar. This jam is a perfect blend of sweet, tangy raspberries and sugar, making it a wonderful addition to any pantry.
Whether you’re an experienced home cook or a beginner, Mary Berry’s raspberry jam recipe offers a foolproof guide to creating a batch of homemade jam that’s full of flavor and perfect for spreading on toast, stirring into yogurt, or enjoying with scones. Let’s dive into the steps and tips for making this classic jam recipe that has stood the test of time.
Why Mary Berry’s Raspberry Jam Recipe is So Special
Mary Berry’s raspberry jam recipe is cherished for its simplicity, clarity, and delicious results. Unlike some more complex recipes that require a lot of special equipment or ingredients, this recipe only calls for three essential ingredients: raspberries, sugar, and a little bit of lemon juice. It’s the kind of recipe that anyone can try, no matter their level of experience in the kitchen.
One of the key reasons her raspberry jam recipe stands out is her emphasis on using fresh, ripe raspberries. Raspberries are delicate, so it’s important to pick them at the peak of their ripeness to ensure the best flavor. Mary also uses the natural pectin found in fruit, meaning you don’t have to rely on added pectin powders, which can sometimes alter the taste or texture of the jam.
Another reason this raspberry jam recipe is adored is Mary Berry’s careful attention to consistency and texture. She suggests using a thermometer to check the setting point of the jam, ensuring that it’s not too runny or too thick. This approach helps even novice cooks achieve the perfect consistency every time.
The Ingredients You’ll Need
Making raspberry jam requires very few ingredients, but the quality of each one plays a significant role in the final product. Here’s a breakdown of what you’ll need for Mary Berry’s raspberry jam recipe:
Fresh Raspberries
Raspberries are the star ingredient in this recipe, so it’s important to choose fresh, ripe berries. The flavor of the raspberries will shine through, so the better the quality, the better your jam will be. Mary Berry recommends using fruit that is in season for the most robust flavor. If fresh raspberries are not available, you can use frozen raspberries, but make sure to defrost and drain them thoroughly before using them in the recipe.
Granulated Sugar
The sugar is crucial not only for sweetness but also for the jam’s setting. The sugar helps to preserve the fruit and acts as a natural preservative, allowing you to keep the jam for months. Mary uses granulated sugar for her raspberry jam recipe, as it dissolves easily and ensures a smooth texture. While some people use jam sugar or preserving sugar, Mary’s method is simple, relying on regular sugar to achieve the desired results.
Lemon Juice
Lemon juice adds a slight acidity to balance out the sweetness of the jam and enhance the natural flavors of the raspberries. It also plays a role in helping the jam set by encouraging the formation of pectin, which helps the jam thicken. A fresh squeeze of lemon juice is the ideal choice for this recipe, adding brightness without overpowering the jam’s flavor.
The Preparation Process
Preparing Mary Berry’s raspberry jam recipe is straightforward and doesn’t require any complex techniques. That said, there are a few key steps to follow to ensure the best results. Let’s walk through the process, step by step, so you can make your very own batch of delicious raspberry jam.
Step One: Sterilizing Your Jars
Before you start making the jam, it’s essential to prepare your jars. Sterilizing your jars ensures that your jam will stay fresh for longer and reduces the risk of contamination. You can sterilize your jars by washing them in hot soapy water, then placing them in a preheated oven at a low temperature (around 120°C or 250°F) for 15-20 minutes to dry out. Alternatively, you can place your jars in a dishwasher on a hot cycle and remove them once they’re clean and dry.
Sterilizing your jars is one of the most important steps in the jam-making process, as it helps to preserve the jam and extend its shelf life.
Step Two: Preparing the Raspberries
Next, it’s time to prepare your raspberries. If you’re using fresh raspberries, gently rinse them under cool water to remove any dirt or debris, but don’t soak them. Excess moisture can affect the jam’s texture. After rinsing, let them drain on a clean towel or paper towel to ensure that no excess water is added to the jam.
If you’re using frozen raspberries, ensure they’re fully thawed and drained to avoid excess water in the jam. Once your raspberries are prepped, gently mash them with a potato masher or the back of a spoon to break them up and release their juices.
Step Three: Cooking the Jam
Now, it’s time to cook the raspberries and sugar together. In a large, heavy-based saucepan, combine the mashed raspberries and the granulated sugar. Stir gently over low heat until the sugar has dissolved completely. Be sure not to rush this step; the sugar needs to dissolve evenly to avoid any graininess in the jam.
Once the sugar has dissolved, increase the heat to medium and Mary Berry Raspberry Jam Recipe the mixture to a boil. Stir frequently to prevent the jam from sticking to the bottom of the pan. Once boiling, add a squeeze of lemon juice and continue to cook the jam for around 10 to 15 minutes, or until it thickens. You can test the consistency by placing a small spoonful of the jam on a chilled plate and running your finger through it. If it wrinkles and holds its shape, it’s ready to be jarred.
Step Four: Setting the Jam
Mary Berry’s raspberry jam recipe is known for its precise setting point, so it’s helpful to use a thermometer to check the temperature of the jam. The setting point is usually reached when the temperature of the jam hits 105°C (220°F), which is when it will thicken and hold its shape when cooled. If you don’t have a thermometer, the plate test mentioned earlier is a great alternative.
Once the jam has reached the desired consistency, remove it from the heat and let it sit for a few minutes to settle. Skim off any foam that may have formed on the surface, then ladle the hot jam into your sterilized jars. Seal the jars tightly while the jam is still hot, and allow them to cool completely at room temperature.
Tips and Tricks for Perfect Raspberry Jam
To ensure your raspberry jam is a success every time, here are some helpful tips and tricks:
Use a Heavy-Based Pan
A heavy-based saucepan ensures even heat distribution and reduces the risk of the jam burning or sticking to the bottom of the pan. This helps to maintain a smooth, consistent texture in the jam.
Don’t Overcrowd the Jam
While it’s tempting to make large batches of jam, it’s best to make smaller batches at a time. If you overcrowd the pan, the temperature won’t rise as quickly, and it could result in a jam that’s too runny or not thick enough.
Be Patient with the Setting Process
Jam-making is all about patience. Don’t rush the cooking time or setting process. Let the jam reach its full potential and carefully check its consistency to ensure it has the right thickness.
Store in a Cool, Dark Place
Once your raspberry jam has cooled and sealed in jars, store them in a cool, dark place, such as a pantry or cupboard. Homemade jam typically lasts for several months when stored properly, but once opened, it should be consumed within a few weeks.
Creative Ways to Enjoy Mary Berry’s Raspberry Jam
Mary Berry’s raspberry jam is incredibly versatile, and there are so many ways to enjoy it. Here are just a few creative ideas:
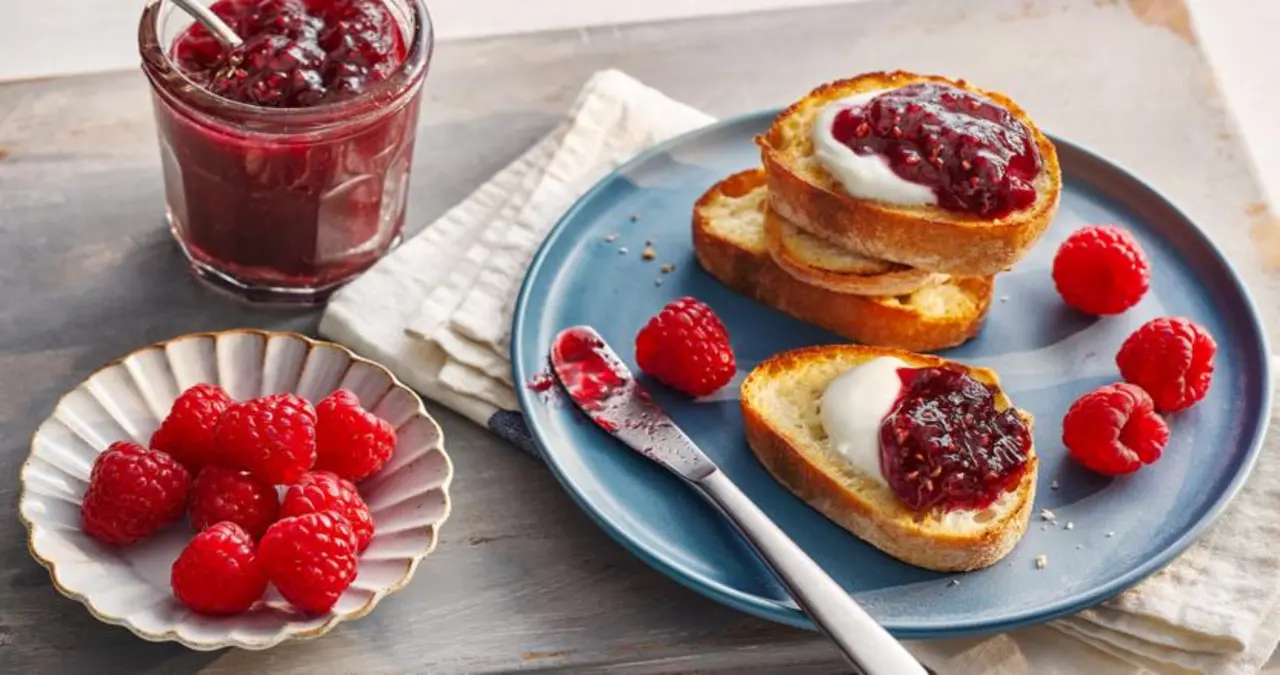
Spread on Toast or Scones
The most classic way to enjoy raspberry jam is by spreading it on a piece of warm toast or a freshly baked scone. Pair it with a cup of tea for a quintessential British breakfast or afternoon snack.
Use in Desserts
Raspberry jam can be a delicious addition to cakes, pastries, and other baked goods. Try adding a layer of raspberry jam to a Victoria sponge cake, or spread it between layers of puff pastry to create a delightful jam-filled pastry.
Stir into Yogurt or Oatmeal
Add a spoonful of raspberry jam to plain yogurt or oatmeal for a burst of natural sweetness. The tartness of the raspberries pairs beautifully with the creamy texture of yogurt and the hearty oats.
Fill Sandwiches
For a quick and simple snack, spread raspberry jam between slices of bread, and enjoy it as a sweet sandwich. You can also pair it with a bit of peanut butter or cream cheese for an extra flavor twist.
Conclusion: A Simple Recipe with Endless Possibilities
Mary Berry’s raspberry jam recipe is a testament to the beauty of simple, homemade cooking. With just a few ingredients and a little patience, you can create a jar of jam that’s bursting with fresh, fruity flavor. Whether you enjoy it on toast, in desserts, or creative ways, this jam is a timeless treat that can be enjoyed year-round.
Whether you’re an experienced jam maker or trying your hand at making preserves for the first time, Mary Berry’s easy-to-follow recipe is a great place to start. The result is a deliciously fresh, homemade jam that’s a true celebration of summer’s finest berries.